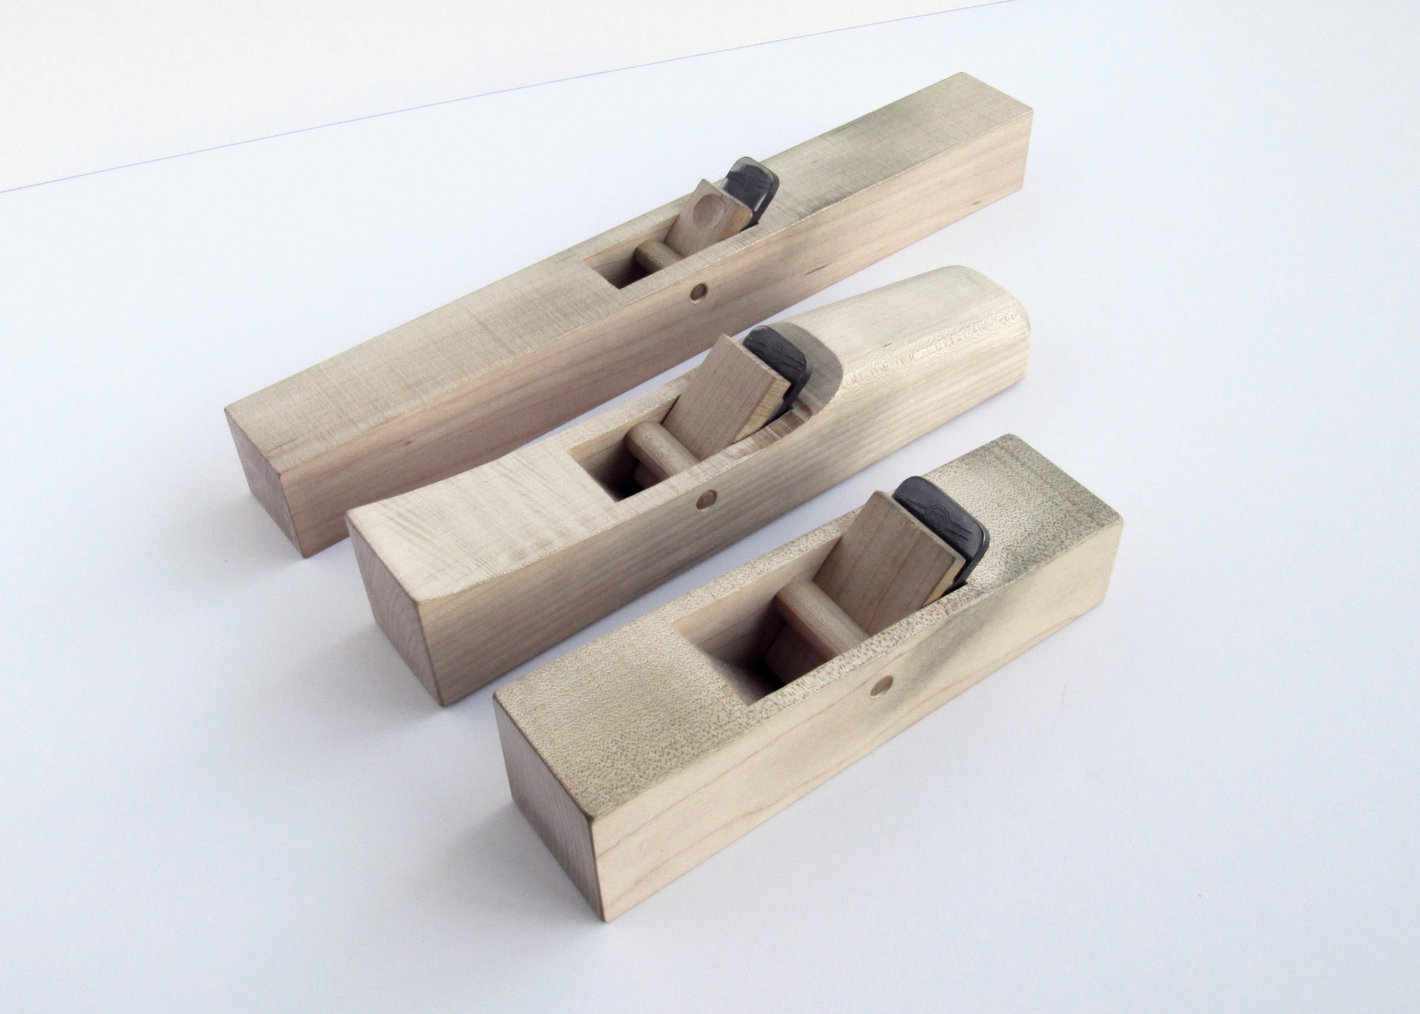
Wooden Planes
Materials:
Maple, Steel Irons.
Process:
- Mill stock to rough dimension of plane.
- Cut two cheeks of the same thickness from the milled piece.
- Cut forward and rear ramps from the middle section with band saw.
- Finish Ramps with block plane and gouge.
- Run Slot for plane iron in rear ramp.
- Drill holes for pivoting cross pin.
- Dimension and shape cross pin with table saw, band saw and file for a snug fit in holes.
- Assemble plane by gluing the cheeks to the center ramps creating a mouth in the bottom of the plane.
- Using the waste material from middle section, cut wedge on band saw.
- Remove material from the bottom of the plane until the iron is able to poke through the mouth.

