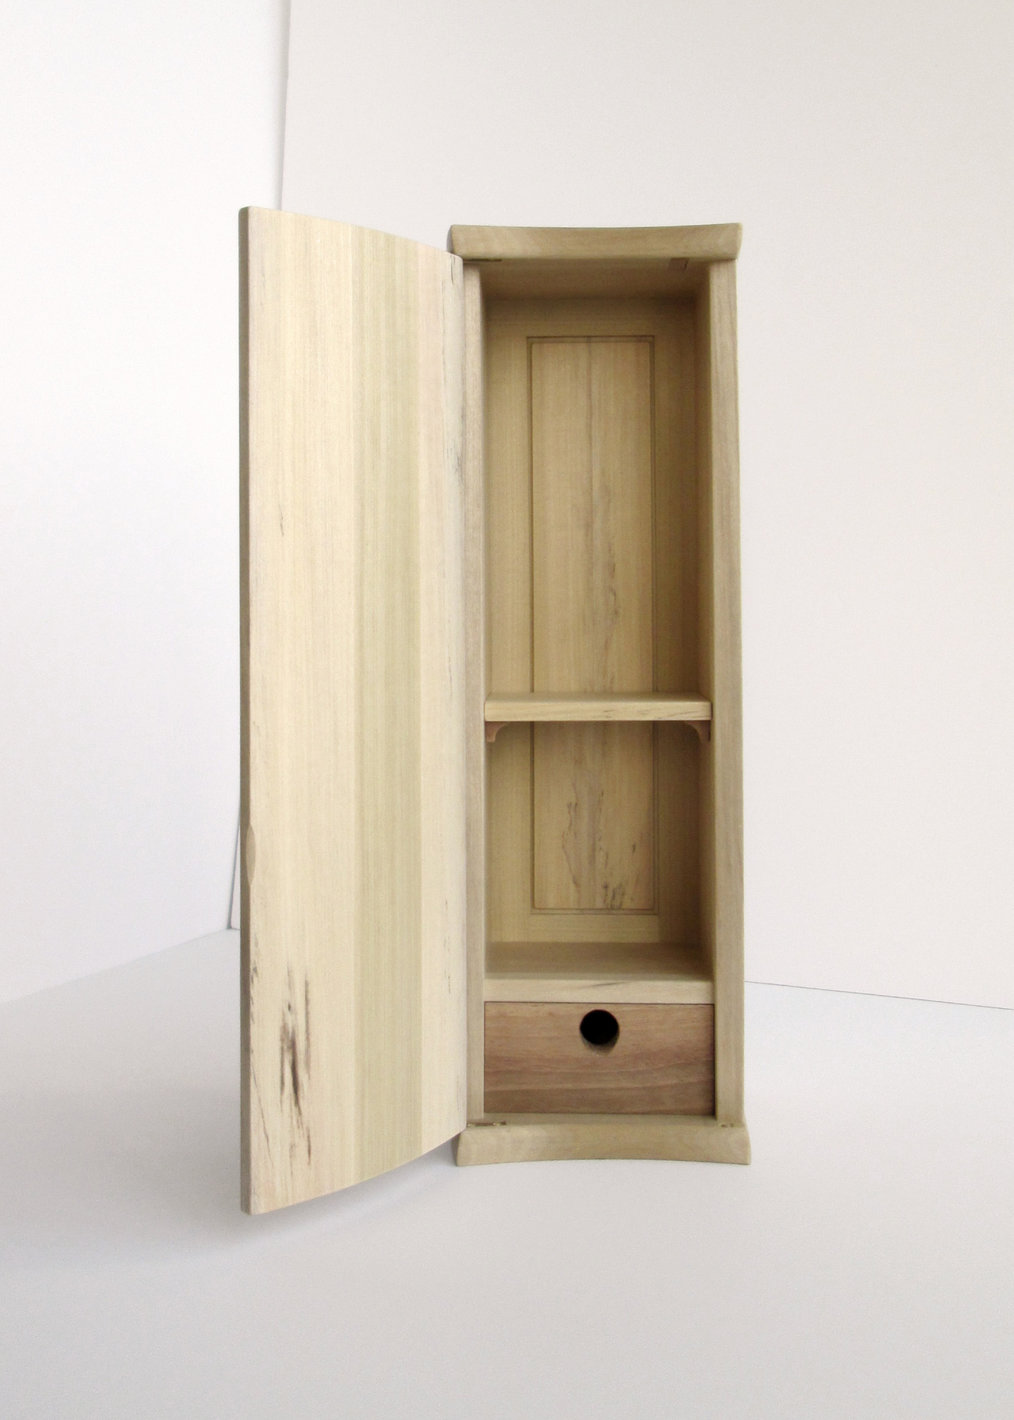
Small Cabinet

Materials:
Poplar, French Walnut, Brass.
Process:
- Mill stock for door, sides, back panel, top, bottom and partition from a single piece of poplar.
- Carefully choose graphics from the resulting cuts and straighten grain if necessary.
- Use jointer plane to square and straighten edges before gluing. Two pieces must be glued together for each part of the cabinet.
- Joint and thickness door, sides and top and bottom so that they are the same thickness.
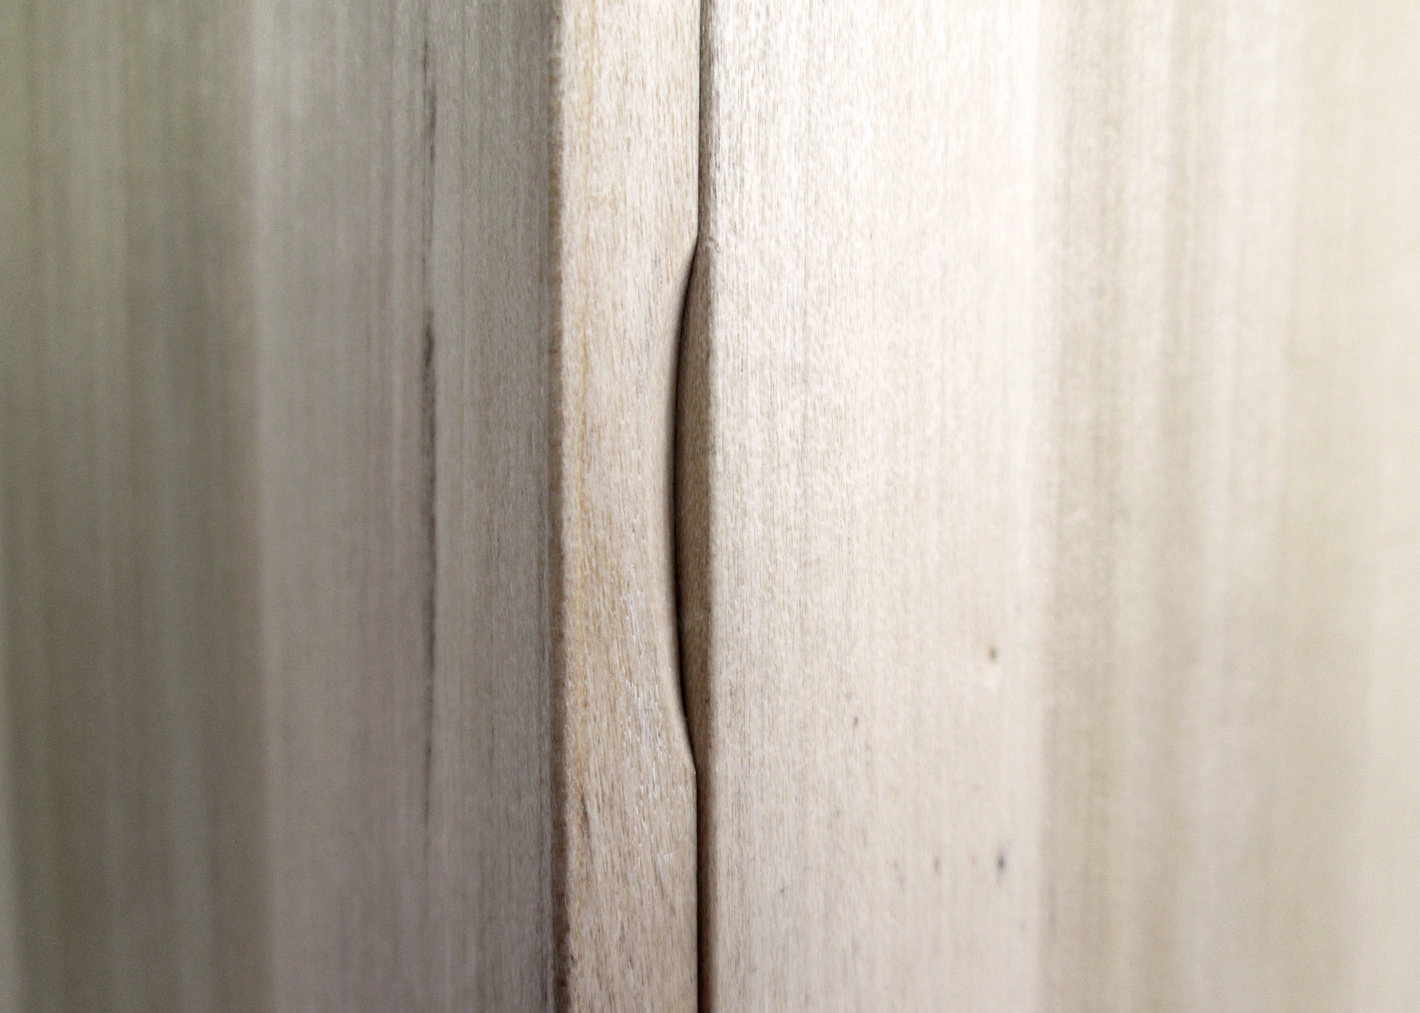
- Make a extra angled cut on either side of the center of the door, joint and glue to provide the rough shape of the coopered surface.
- Finish shaping outside of door with round bottom plane, and inside of door with smoothing plane.
- Cross cut the edge jointed piece for the top and bottom and partition into it’s separate components.
- Mill parts for doweling jig out of bass wood, in order to align the dowels in the sides and top and bottom of cabinet.
- Nail doweling jig to the ends of the sides of cabinet, and use mortising table to drill holes for dowels.
- Transfer doweling jig to the top and bottom, and drill holes with a drill press.
- Run grooves for partition in sides with router.
- Drill holes for shelf pegs.
- Remove material for rabbets for the frame and panel with shaping table.
- Insert dowels into holes and assemble cabinet carcass. Use door as a reference to define the final shape of the front of the top and bottom and sides
- Shape top and bottom of cabinet with band saw and then finish with spoke shave.
- Shape sides with jointer and smoothing plane.
- Cut, drill and assemble material for brass hinges.
- Remove material for slots for brass hinges in top and bottom of cabinet.
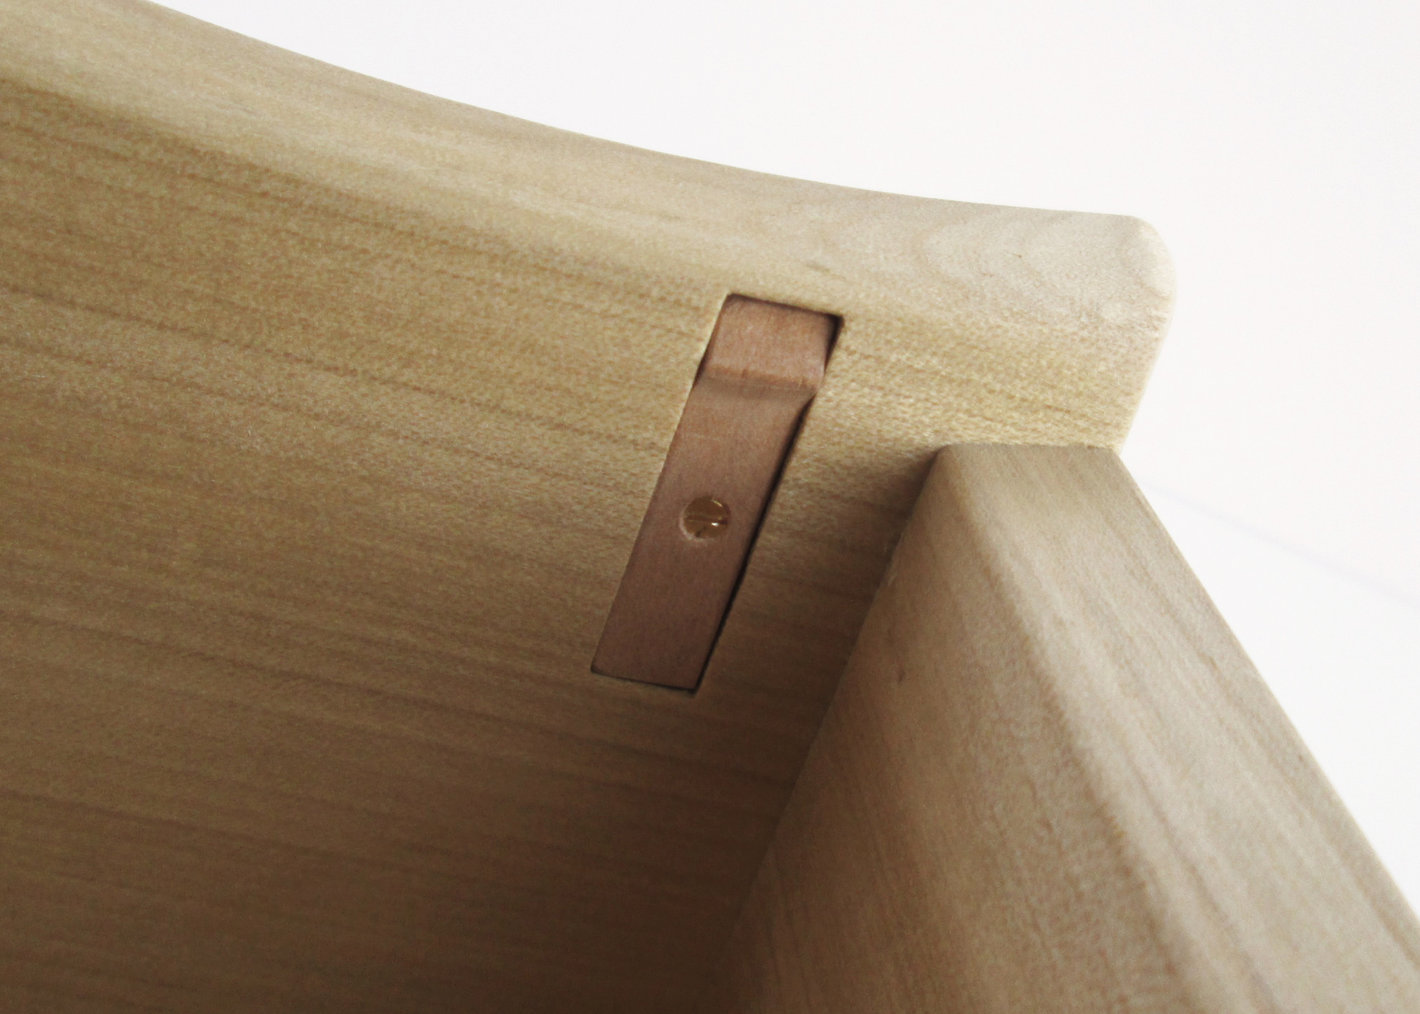
- Layout location for wooden latch, and use chisel to remove material for latch mortise.
- Shape and install wooden latch in mortise.
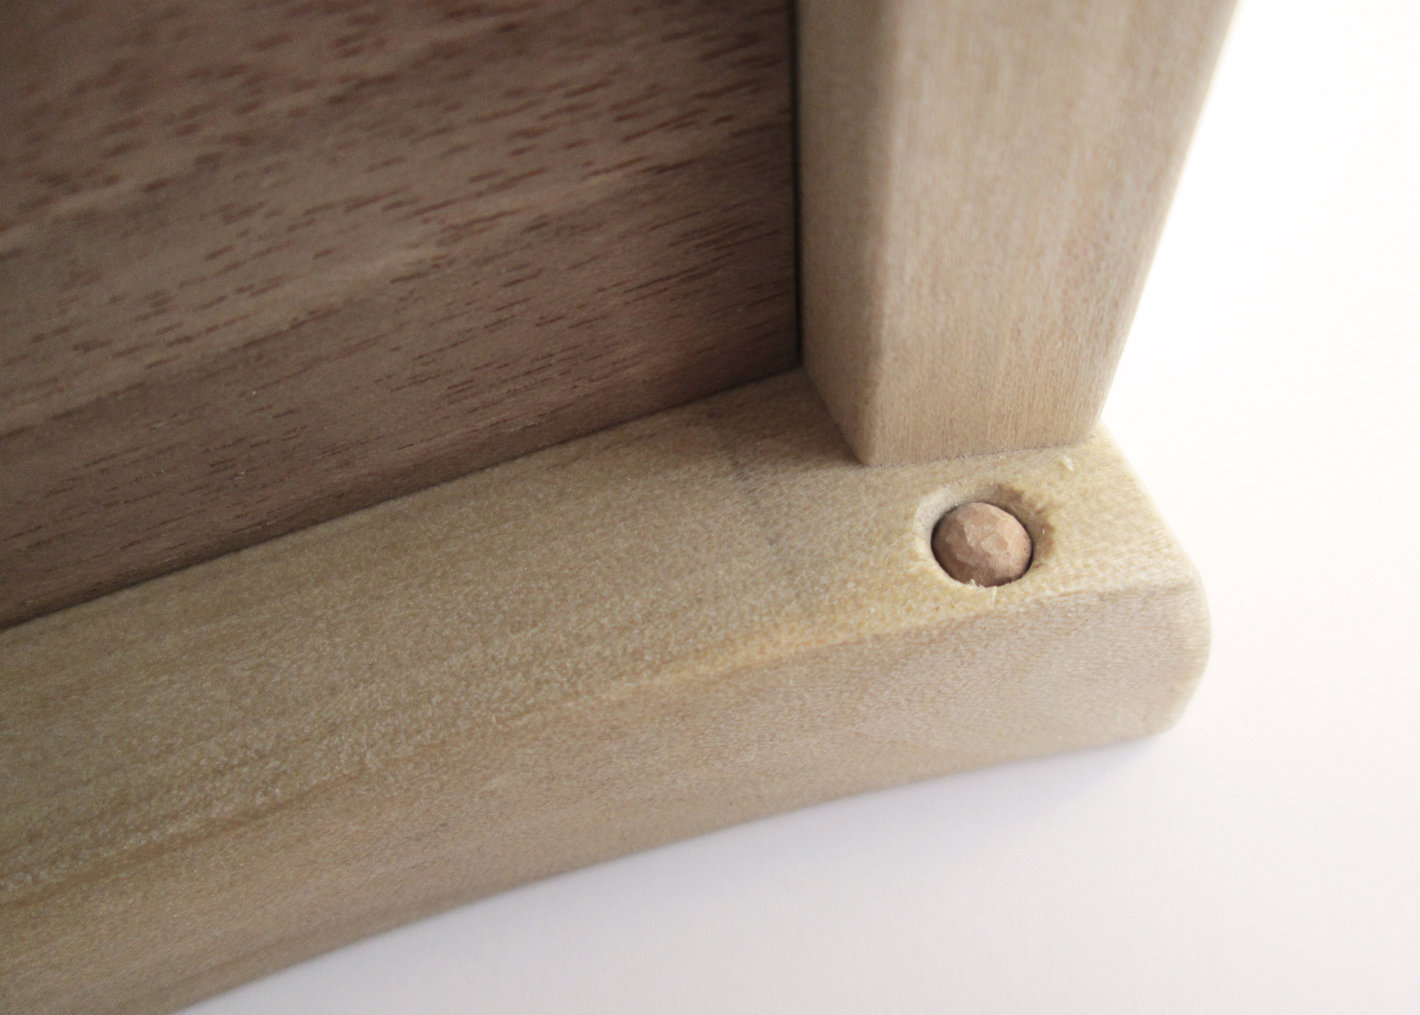
- Drill hole for leveler in bottom of cabinet.
- Apply shellac finish to top, bottom and sides.
- 1st glue up: Assemble cabinet carcass. Glue top and bottom and sides of cabinet together.
- Cross cut partition to length and width based on final carcass dimensions.
- Run grooves in the sides of partition with shaper, install into sides of cabinet with modified dado joint.
- Mill parts for cabinet drawer, French walnut for the front, and bass wood for the sides and back.
- Use jointer plane to remove material and fit the pieces for the front, sides and back of drawer in slot.
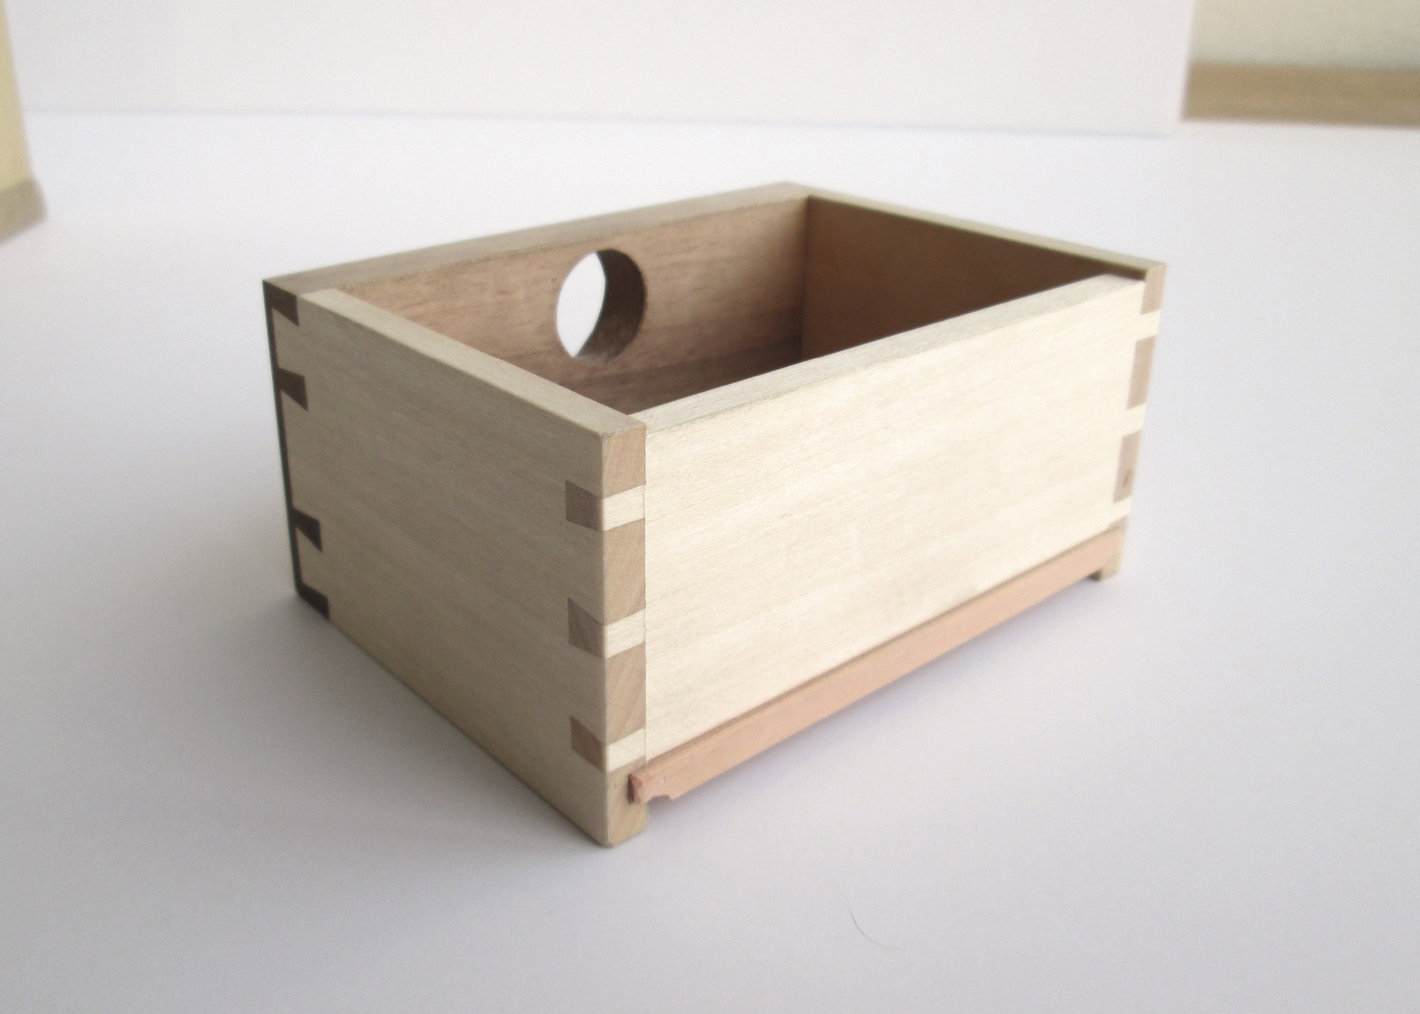
- Layout and remove material for the pins of the half blind dovetails in the front of the drawer.
- Transfer half blind pins and remove material for dovetails in sides for the front of drawer.
- Layout and remove material for the pins in of the through dovetails in the back of the drawer
- Transfer through pins and remove material for the dovetails in sides for the back of the drawer.
- Run groves in the front, back and sides of the drawer to accept drawer bottom.
- Remove material in front of drawer for pull.
- Apply shellac finish for drawer front.
- 2nd glue up: Assemble drawer.
- Cross cut drawer bottom to length and width, remove material with jointer plane for snug fit. Secure with brass screw.
- Mill stock for back frame and panel
- Use table saw and band saw to remove material for frame bridle joints. Finish joints with chisel
- Use mortising table to remove material for bottom rail joint.
- Use table saw and band saw to shape tenon of bottom rail and finish fitting with file.
- Use shaping table to run slots for panel.
- Cross cut panel for a snug fit into frame.
- Use shaping table to remove material to provide reveal for back panel.
- Drill holes in top section of frame and bottom rail to accept dowels to pin panel in place.
- Apply shellac finish to frame and panel
- 3rd glue up: Assemble frame and panel
- Remove material off the sides and top and bottom of frame and panel to fit into rabbets in back of cabinet.
- 4th glue up: Glue frame and panel into back of cabinet.
- Remove material off top and bottom of door with block plane to fit inside of cabinet.
- Remove material for the slots for the hinges in top and bottom of door in order for hinges side to finish flush with side of cabinet.
- Remove material on opposite side of door to finish flush with the opposite side of the cabinet.
- Apply shellac finish to door.
- Install brass hinges with brass screws, and trouble shoot door swing.
- Install leveler to keep door from sagging, and adjust wooden latch to provide friction fit when door is closed.
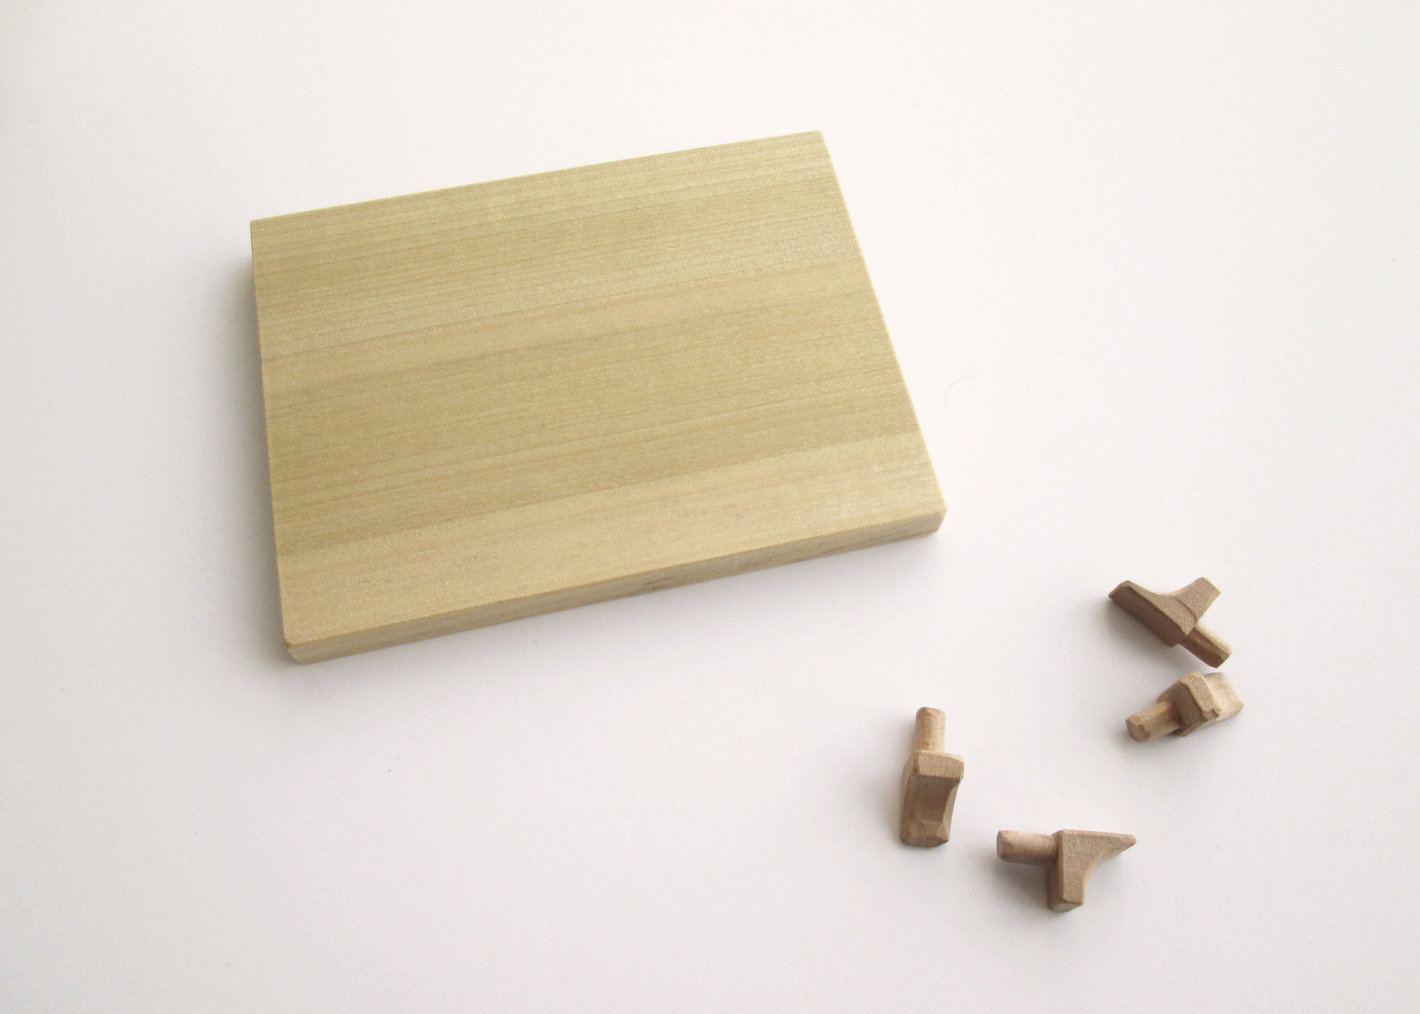
- Shape shelf pegs with band saw and finish with carving knife.
- Cross cut shelf to size, ease edges, shellac and install.
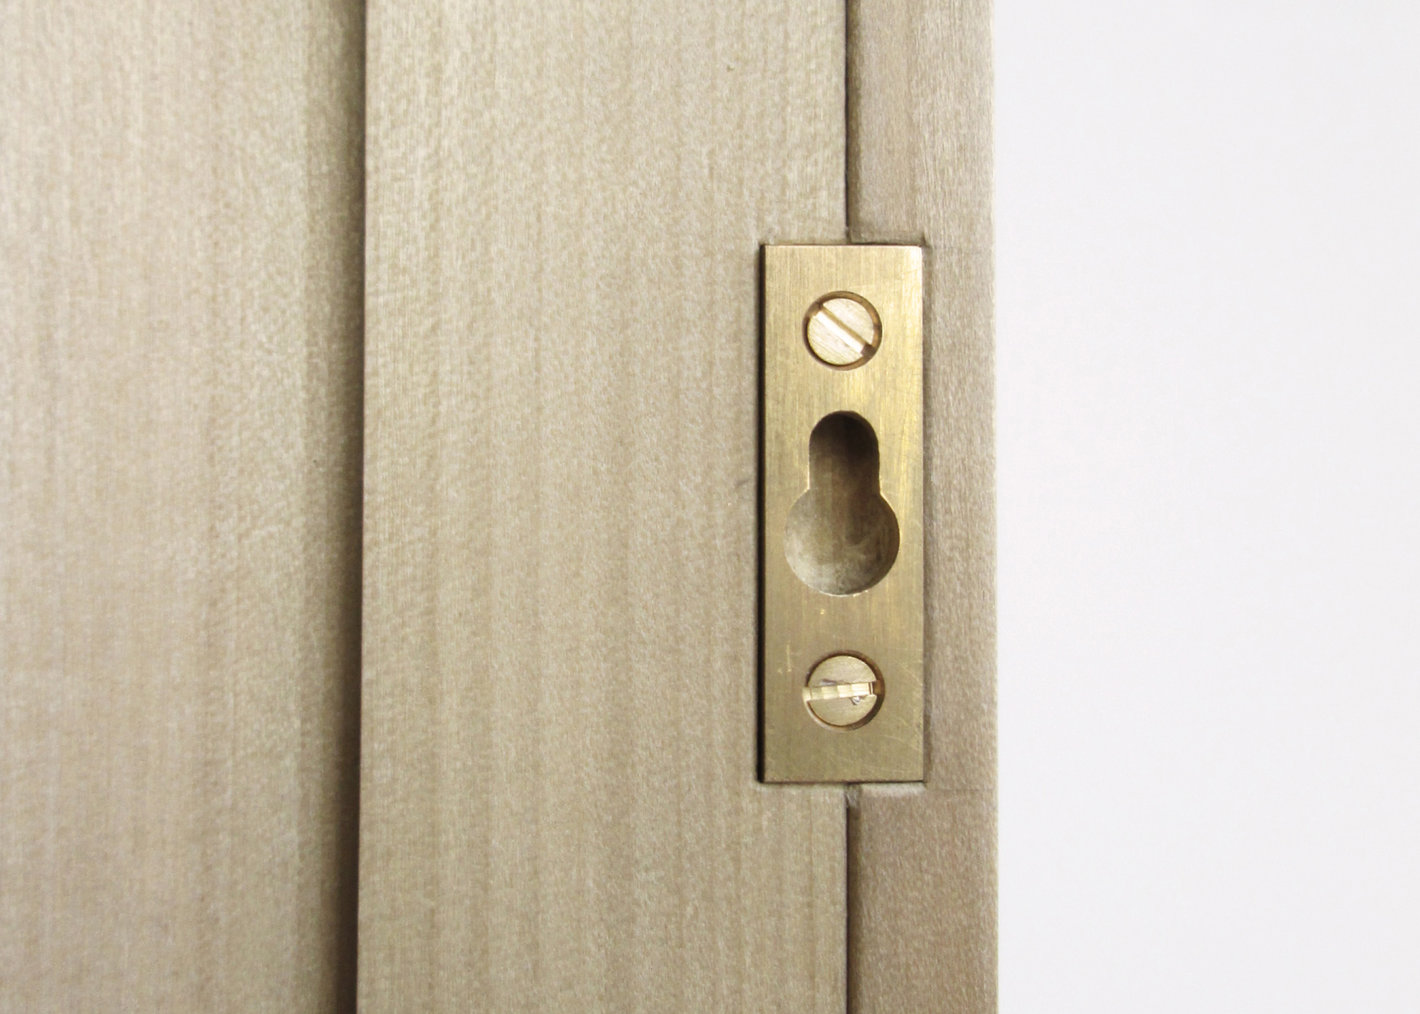
- Cut, drill and run grooves in brass wall hangers.
- Remove material with chisel in order to recess hangers into back of cabinet
- Use gouge to provide additional room in hanger mortise to accept hardwear from wall.
- Install brass wall hangers with brass screws.